
One frequent query that arises when utilizing scroll views in SwiftUI is methods to detect the scroll place. Previous to the discharge of iOS 17, builders needed to give you their very own options to seize the scroll positions. Nevertheless, the brand new model of SwiftUI has up to date ScrollView with a brand new modifier known as scrollPosition. With this new function, builders can effortlessly determine the merchandise that’s being scrolled to.
On this tutorial, we’ll take a better take a look at this new modifier and look at the way it can help you in detecting scroll positions in scroll views.
Utilizing the ScrollPosition Modifier to Detect Scroll Positions
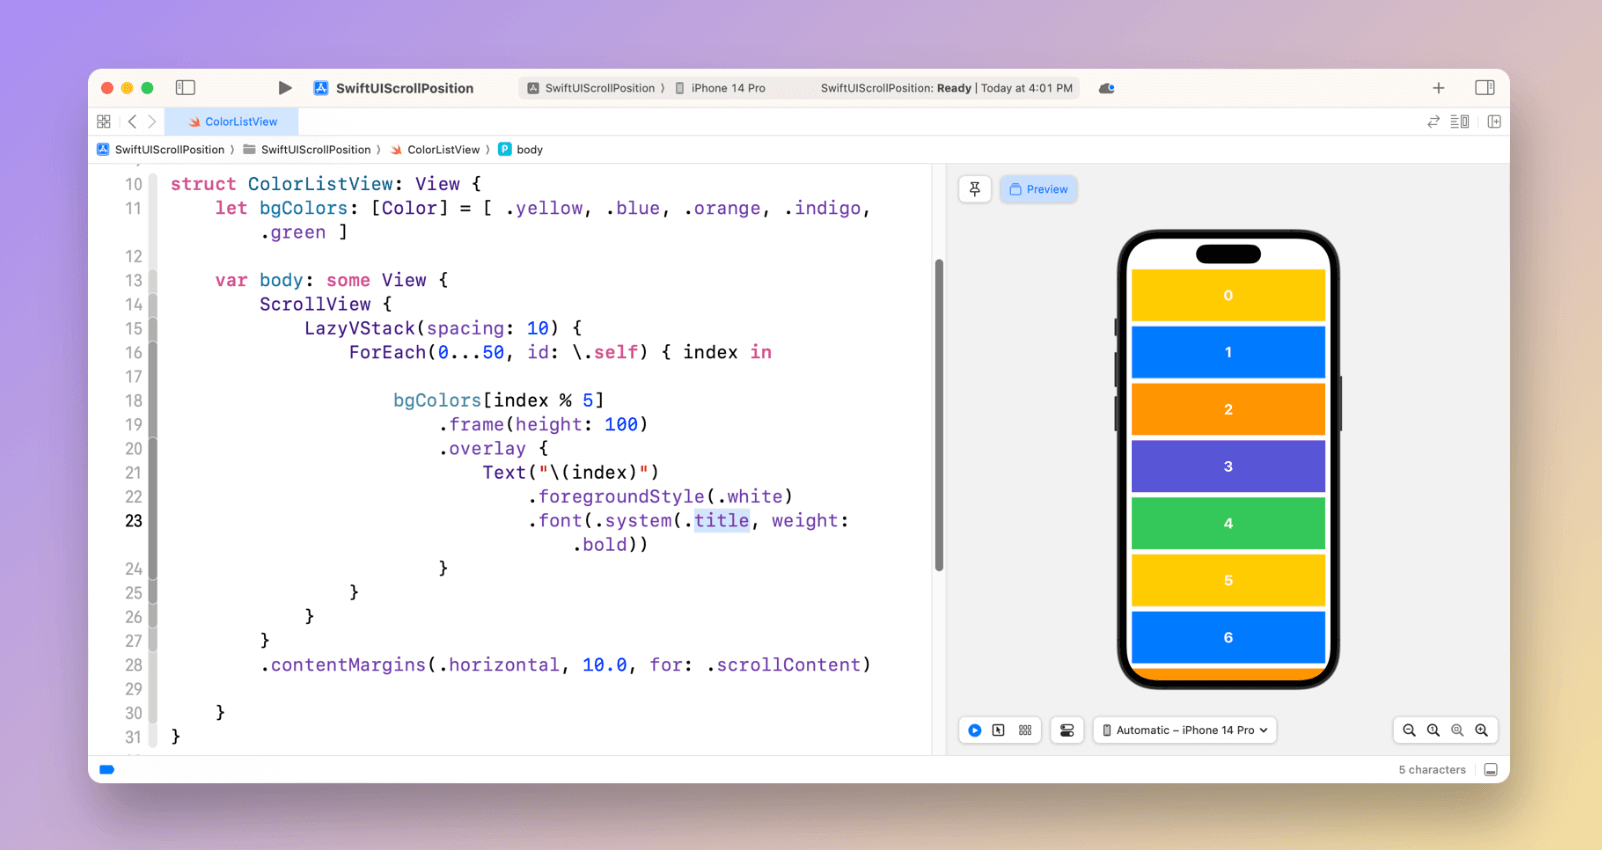
Let’s start with a easy scroll view that shows an inventory of fifty gadgets.
|
1 2 3 4 5 6 7 8 9 10 11 12 13 14 15 16 17 18 19 20 21 22 |
struct ColorListView: View { let bgColors: [Color] = [ .yellow, .blue, .orange, .indigo, .green ]
var physique: some View { ScrollView { LazyVStack(spacing: 10) { ForEach(0...50, id: .self) { index in
bgColors[index % 5] .body(top: 100) .overlay { Textual content(“(index)“) .foregroundStyle(.white) .font(.system(.title, weight: .daring)) } } } } .contentMargins(.horizontal, 10.0, for: .scrollContent)
} } |
The code is sort of easy in case you are accustomed to implementing a scroll view in SwiftUI. We make the most of a ForEach loop to current 50 coloration gadgets, that are then embedded inside a vertical scroll view. Should you add this code to a SwiftUI mission, you need to be capable to preview it and see one thing just like the determine beneath.
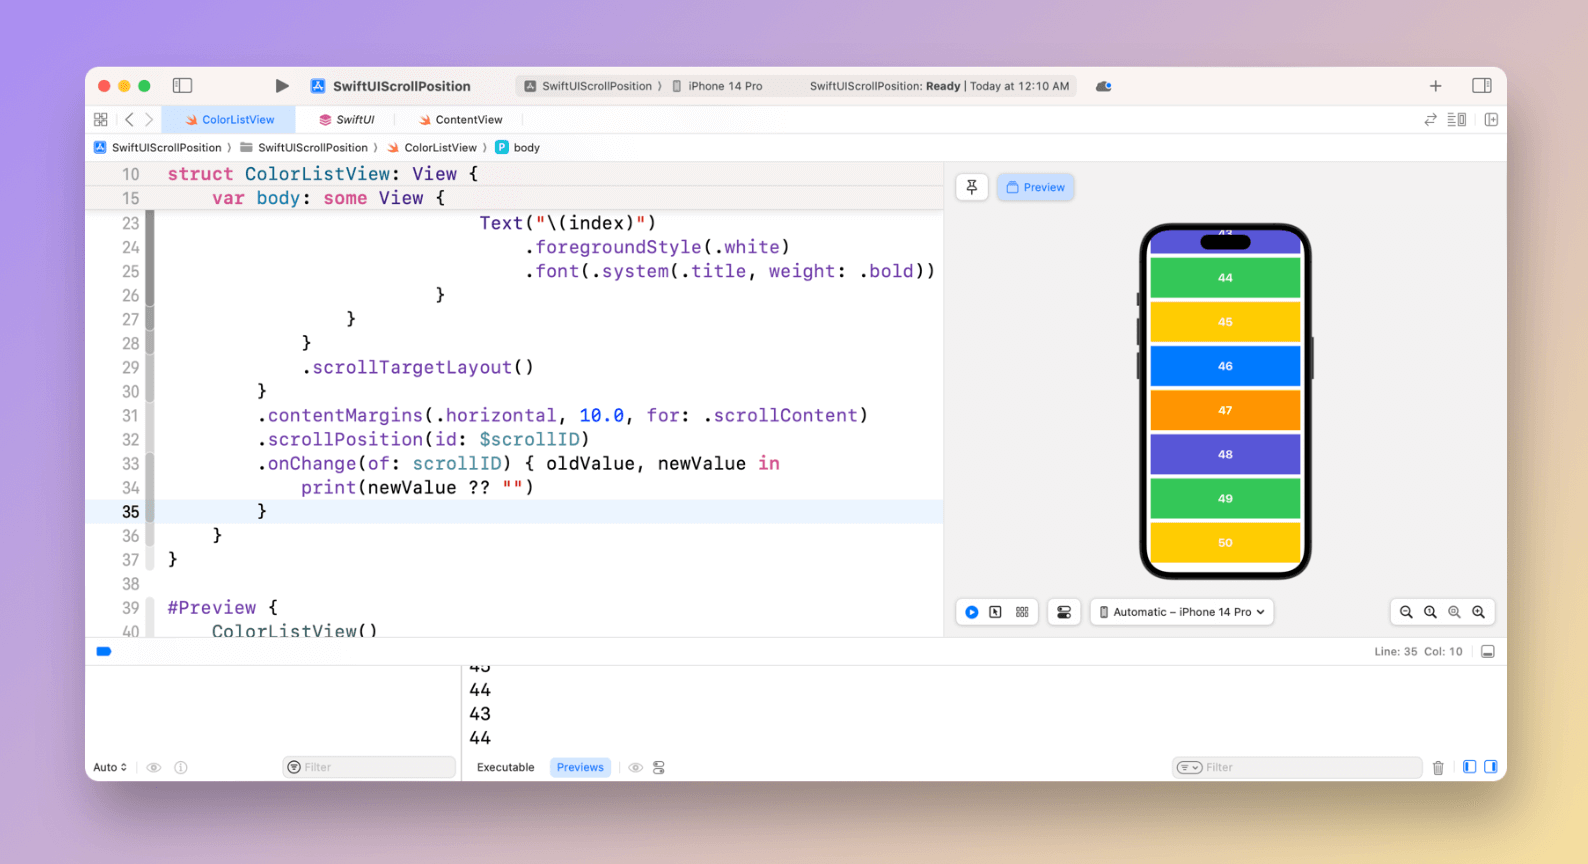
To maintain observe of the present scroll place or merchandise, you need to first declare a state variable to carry the place:
|
@State personal var scrollID: Int? |
Subsequent, connect the scrollPosition modifier to the scroll view. This modifier takes a binding to scrollID, which shops the scroll place:
|
ScrollView {
...
} .scrollPosition(id: $scrollID) |
Because the scroll view scrolls, the binding might be up to date with the index of the colour view.
Lastly, connect the scrollTargetLayout modifier to the LazyVStack view as follows:
|
LazyVStack(spacing: 10) {
...
} .scrollTargetLayout() |
With out the scrollTargetLayout() modifier, the scrollPosition modifier won’t work appropriately. The scrollPosition modifier depends on the scrollTargetLayout() modifier to configure which the structure that incorporates your scroll targets.
To look at the modifications of the scroll place, you’ll be able to connect a onChange modifier to the scroll view and print the scroll ID to the console:
|
.onChange(of: scrollID) { oldValue, newValue in print(newValue ?? “”) } |
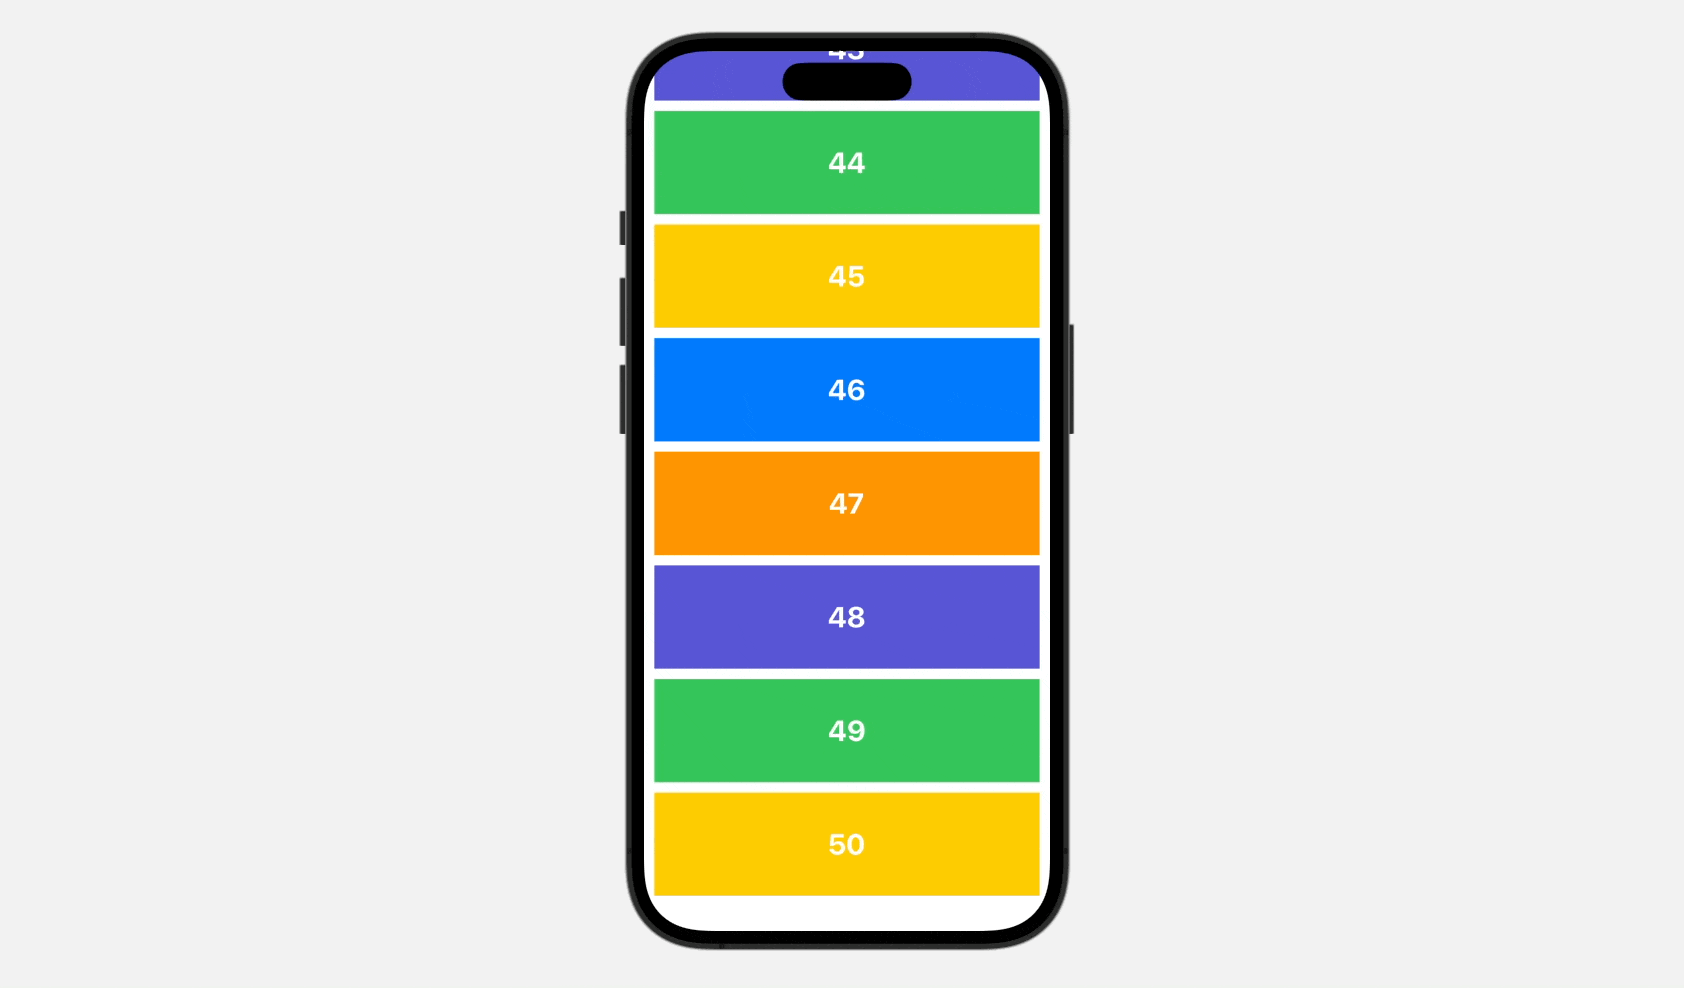
As you scroll via the checklist, the present scroll place needs to be displayed within the console.
Scroll to the High
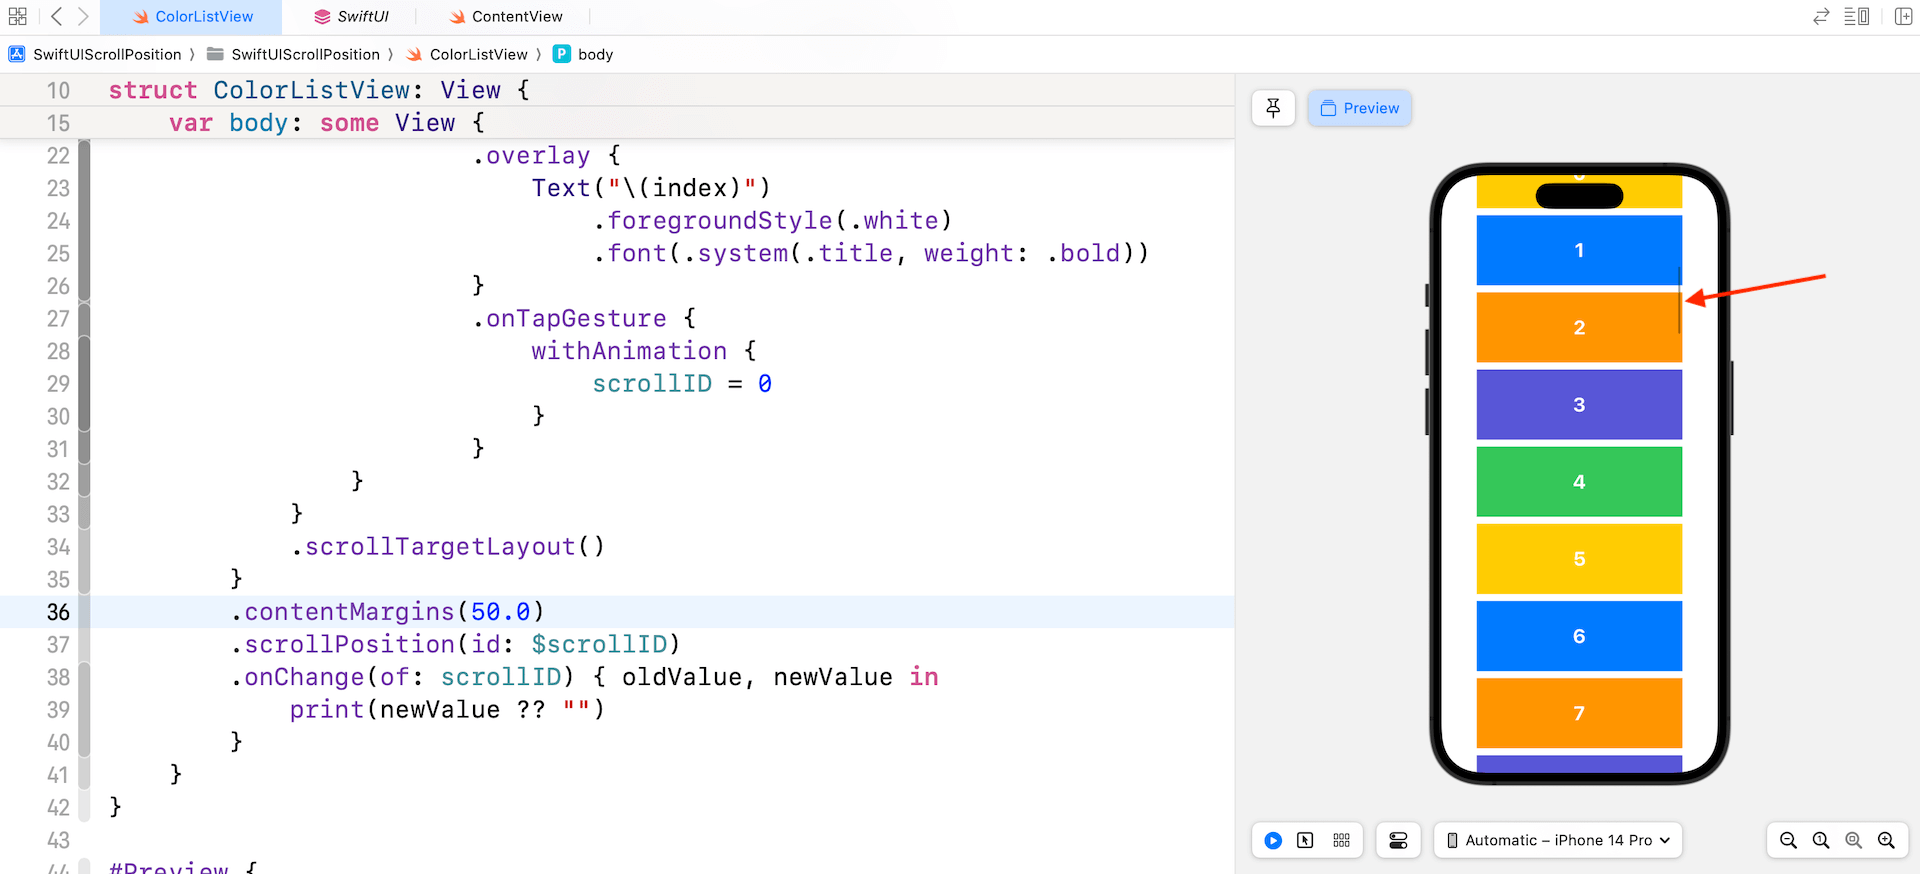
Let’s implement yet one more function utilizing the scrollPosition modifier. When a consumer faucets any of the colour views, the checklist ought to robotically scroll again to the highest.
This may be achieved by including a onTapGesture modifier to every coloration view, and passing a closure that units the scrollID to 0 inside it. When the consumer faucets on any of the colour views, the scrollID might be up to date to 0, which can trigger the checklist to scroll again to the highest.
|
bgColors[index % 5] .body(top: 100) .overlay { Textual content(“(index)“) .foregroundStyle(.white) .font(.system(.title, weight: .daring)) } .onTapGesture { withAnimation { scrollID = 0 } } |
Adjusting Content material Margins of Scroll Views
Now that you understand how to detect the scroll place, let’s focus on yet one more new function of scroll views in iOS 17. First, it’s the contentMargins modifier. It is a new function in SwiftUI that enables builders to customise the margins of scrollable views. With contentMargins, you’ll be able to simply regulate the quantity of area between the content material and the sides of the scroll view, providing you with extra management over the structure of your app.
We have now already used this modifier within the pattern code that units the horizontal margin to 10 factors.
|
.contentMargins(.horizontal, 10.0, for: .scrollContent) |
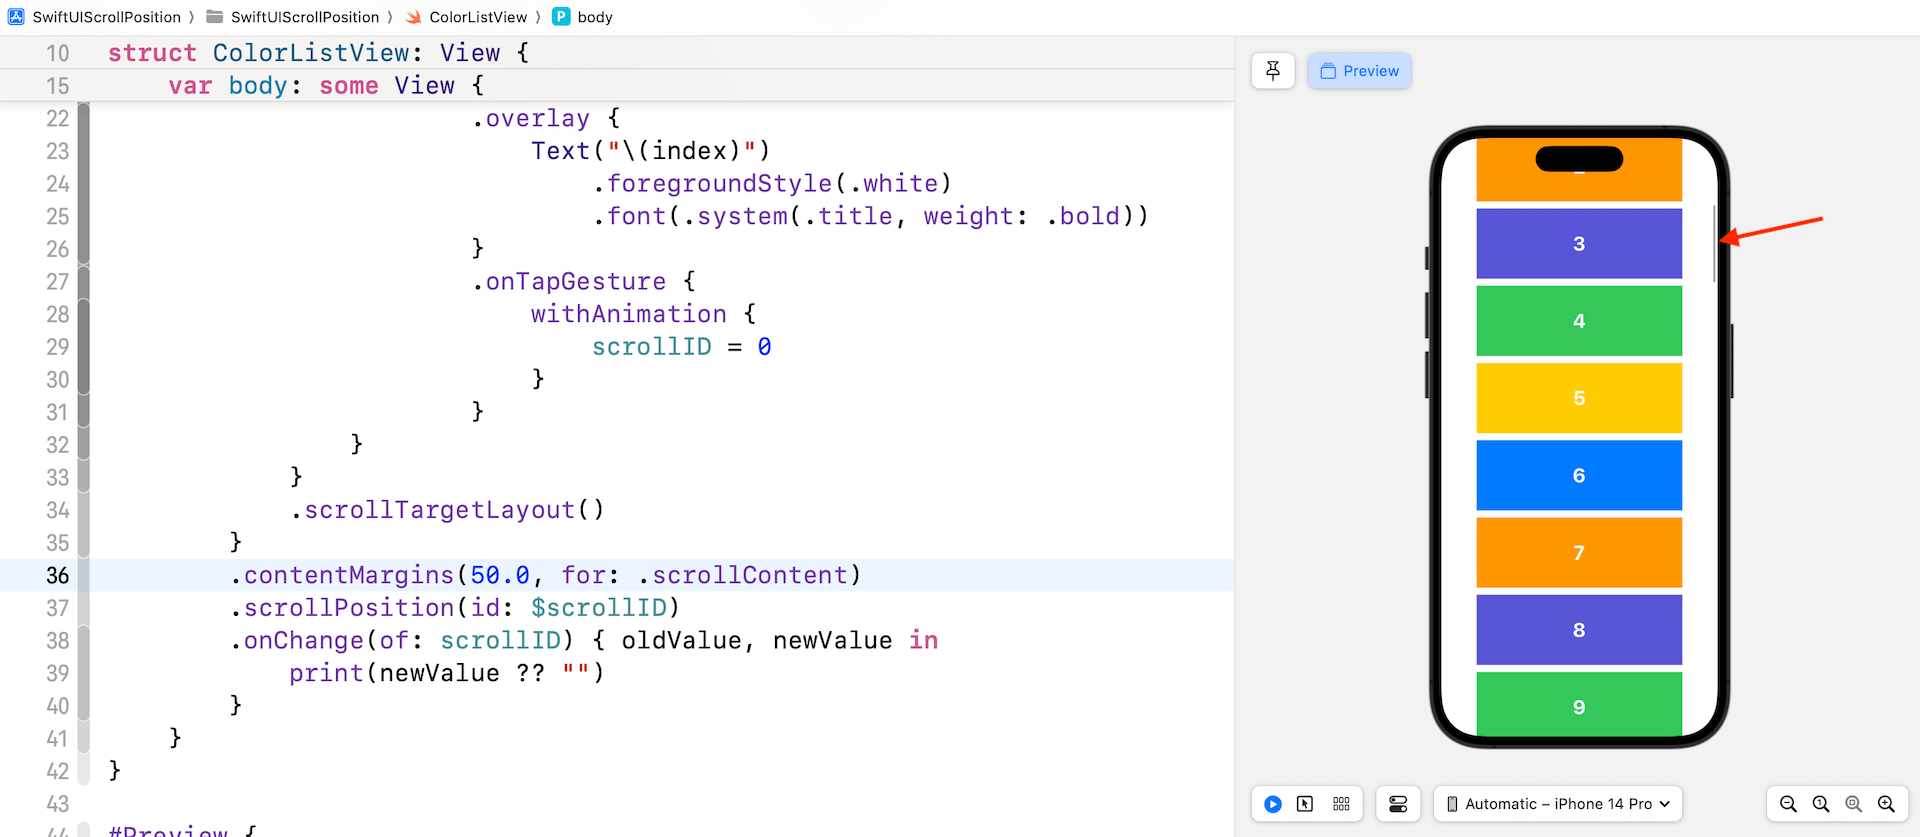
The .scrollContent parameter worth signifies that the content material margin ought to solely be utilized to the scroll content material, fairly than all the scroll view. If you don’t specify the sides and placement parameters, the contentMargins modifier will apply the margins to all edges of the scroll view. For instance, within the code beneath, it insets all the scroll view by 50 factors, together with the scroll bar.
In case if you wish to hold the scroll bar at its authentic place, you’ll be able to set the placement parameter to .scrollContent.
Abstract
The brand new scrollPosition modifier is among the most anticipated options of scroll views. In iOS 17, SwiftUI lastly introduces this function permitting builders to detect scroll positions. On this tutorial, we have now demonstrated the utilization of this new modifier and launched one other new modifier known as contentMargins, which permits builders to customise the margins of scrollable views.
With these new options in SwiftUI, builders can now effortlessly create extra custom-made and visually interesting layouts for his or her apps.
Should you’re concerned with studying extra about SwiftUI, don’t neglect to take a look at our Mastering SwiftUI e-book.