
Beginning with iOS 16, SwiftUI introduces a local picture picker view generally known as PhotosPicker. In case your app requires entry to customers’ picture library, the PhotosPicker view seamlessly manages the picture choice course of. This built-in view presents exceptional simplicity, permitting builders to current the picker and deal with picture choice with only a few traces of code.
When presenting the PhotosPicker view, it showcases the picture album in a separate sheet, rendered atop your app’s interface. In earlier variations of iOS, you couldn’t customise or change the looks of the photographs picker view to align together with your app’s format. Nonetheless, Apple has launched enhancements to the PhotosPicker view in iOS 17, enabling builders to seamlessly embed it inline inside the app. Moreover, you’ve gotten the choice to switch its dimension and format utilizing normal SwiftUI modifiers resembling .body and .padding.
On this tutorial, I’ll present you methods to implement an inline picture picker with the improved PhotosPicker view.
Revisiting Picture Pickers
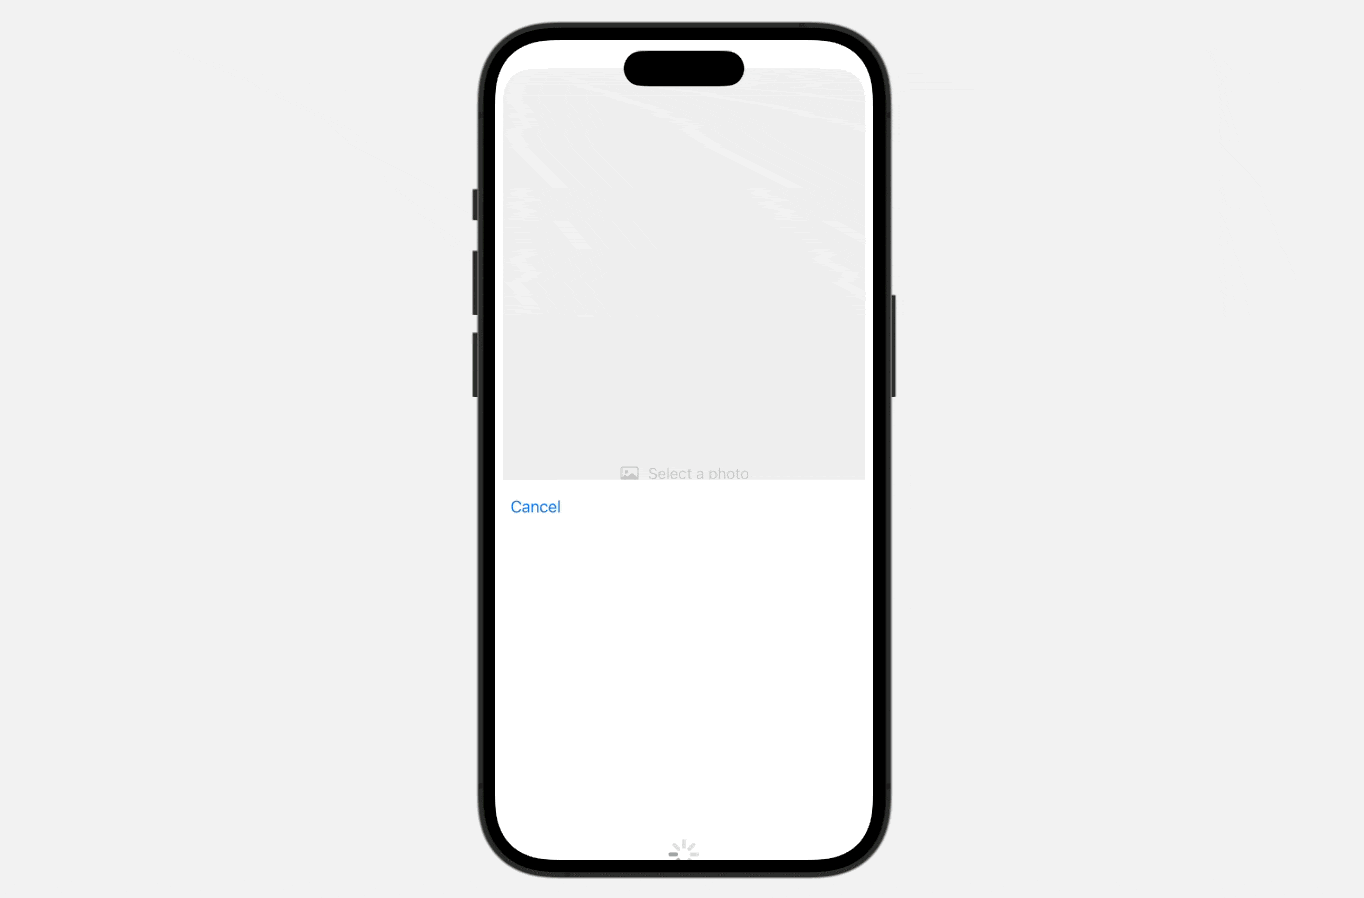
To make use of the PhotosPicker view, you may first declare a state variable to retailer the picture choice after which instantiate a PhotosPicker view by passing the binding to the state variable. Right here is an instance:
|
import SwiftUI import PhotosUI
struct ContentView: View {
@State personal var selectedItem: PhotosPickerItem?
var physique: some View { PhotosPicker(choice: $selectedItem, matching: .pictures) { Label(“Choose a photograph”, systemImage: “picture”) } } } |
The matching parameter means that you can specify the asset sort to show. Right here, we simply select to show pictures solely. Within the closure, we create a easy button with the Label view.
Upon choosing a photograph, the picture picker mechanically dismisses itself, and the chosen picture merchandise is saved within the selectedItem variable, which is of sort PhotosPickerItem. To load the picture from the merchandise, you should utilize loadTransferable(sort:completionHandler:). You possibly can connect the onChange modifier to hearken to the replace of the selectedItemvariable. At any time when there’s a change, you name the loadTransferable technique to load the asset information like this:
|
@State personal var selectedImage: Picture?
. . .
.onChange(of: selectedItem) { oldItem, newItem in Process { if let picture = strive? await newItem?.loadTransferable(sort: Picture.self) { selectedImage = picture } } } |
When utilizing loadTransferable, it’s essential to specify the asset sort for retrieval. On this case, we make use of the Picture sort to instantly load the picture. If the operation is profitable, the strategy will return an Picture view, which can be utilized to instantly render the picture on the display screen.
|
if let selectedImage { selectedImage .resizable() .scaledToFit() .padding(.horizontal, 10) } |
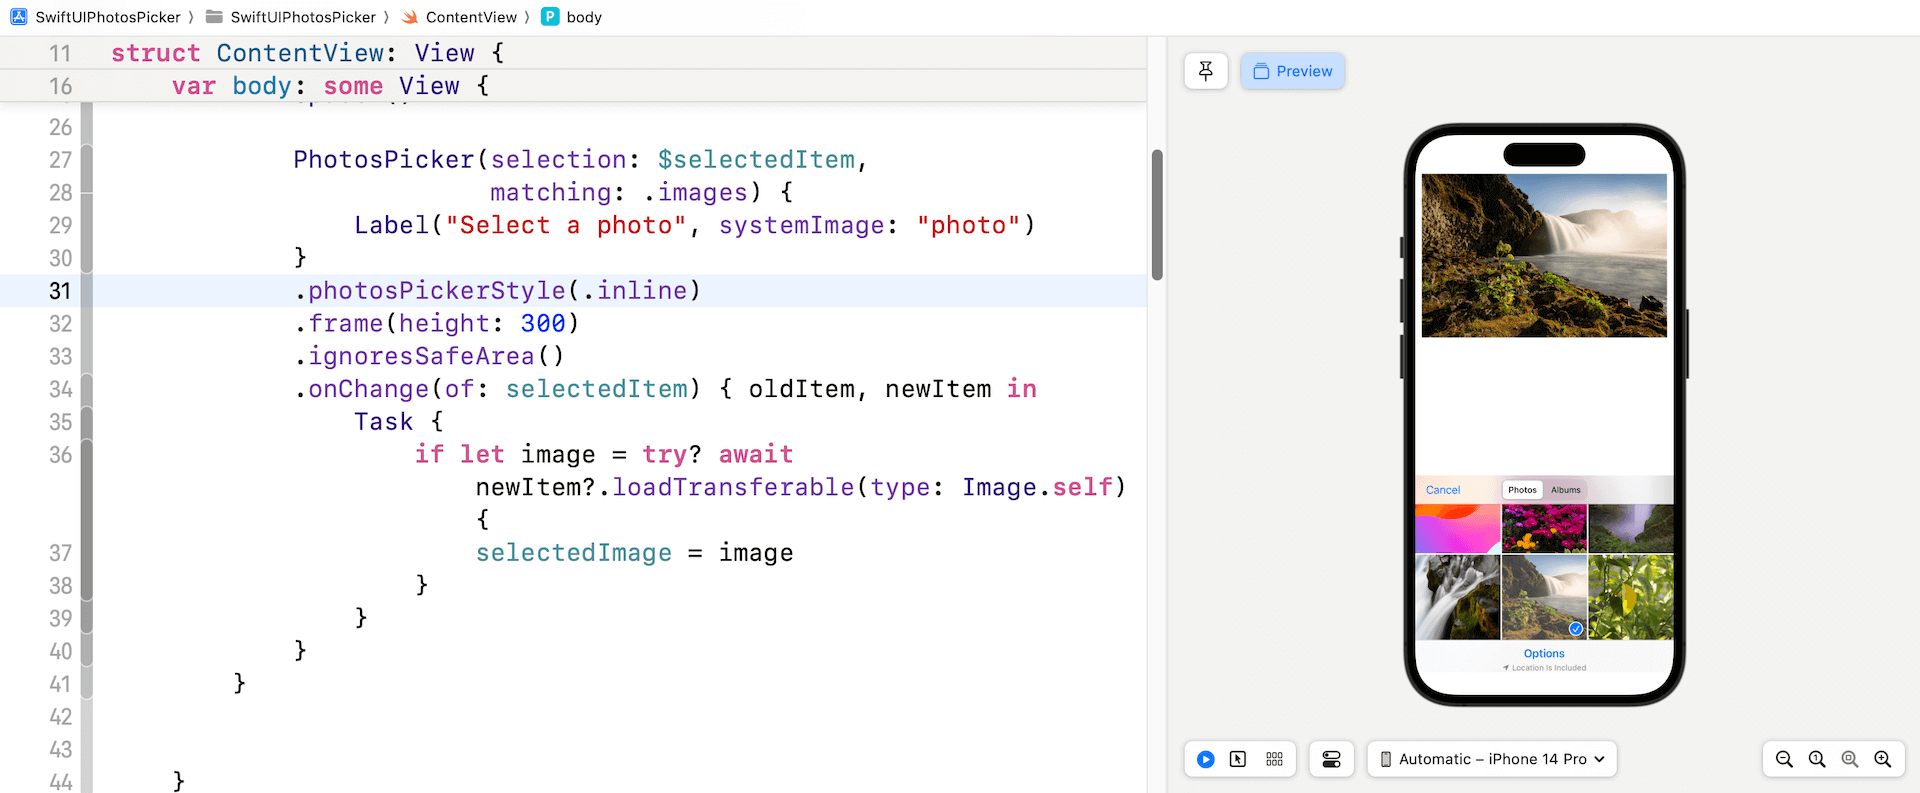
Implementing an Inline PhotosPicker
Now that it is best to perceive methods to work with a PhotosPicker, let’s see methods to embed it in our demo app. What we’re going to do is to switch the “Choose a photograph” button with an inline Pictures picker. The up to date model of PhotosPicker comes with a brand new modifier referred to as photosPickerStyle. By specify a worth of .inline, the Pictures picker shall be mechanically embedded within the app:
|
.photosPickerStyle(.inline) |
You can even connect normal modifiers like .body and .padding to regulate the scale of the picker.
By default, the highest accent of the picker is the navigation bar and the underside accent is the toolbar. To disable each bars, you may apply the photosPickerAccessoryVisibility modifier:
|
.photosPickerAccessoryVisibility(.hidden) |
Optionally, you may conceal both of them:
|
.photosPickerAccessoryVisibility(.hidden, edges: .backside) |
Dealing with A number of Picture Alternatives
Presently, the Pictures picker solely permits customers to pick a single picture. To allow a number of alternatives, you may choose within the steady choice habits by setting the selectionBehavior to .steady or .continuousAndOrdered:
|
PhotosPicker(choice: $selectedItems, maxSelectionCount: 5, selectionBehavior: .continuousAndOrdered, matching: .pictures) { Label(“Choose a photograph”, systemImage: “picture”) } |
In case you want to limit the variety of gadgets accessible for choice, you may specify the utmost depend utilizing the maxSelectionCount parameter.

As soon as the person has chosen a set of photographs, they’re saved within the selectedItems array. The selectedItems array has been modified to accommodate a number of gadgets and is now of sort PhotosPickerItem.
|
@State personal var selectedItems: [PhotosPickerItem] = [] |
To load the chosen photographs, you may replace the onChange closure like this:
|
.onChange(of: selectedItems) { oldItems, newItems in
selectedImages.removeAll()
newItems.forEach { newItem in
Process { if let picture = strive? await newItem.loadTransferable(sort: Picture.self) { selectedImages.append(picture) } }
} } |
I used an Picture array to retailer the retrieved pictures.
|
@State personal var selectedImages: [Image] = [] |
To show the chosen pictures, chances are you’ll use a horizontal scroll view. Right here is the pattern code that may be positioned in the beginning of the VStack view:
|
1 2 3 4 5 6 7 8 9 10 11 12 13 14 15 16 17 18 19 20 21 |
if selectedImages.isEmpty { ContentUnavailableView(“No Pictures”, systemImage: “picture.on.rectangle”, description: Textual content(“To get began, choose some photographs beneath”)) .body(peak: 300) } else {
ScrollView(.horizontal) { LazyHStack { ForEach(0..<selectedImages.depend, id: .self) { index in selectedImages[index] .resizable() .scaledToFill() .body(peak: 250) .clipShape(RoundedRectangle(cornerRadius: 25.0)) .padding(.horizontal, 20) .containerRelativeFrame(.horizontal) }
} } .body(peak: 300) } |
In case you’d wish to be taught extra about methods to create picture carousels, you may take a look at this tutorial. In iOS 17, a brand new view referred to as ContentUnavailableView is launched. This view is beneficial to be used in situations the place the content material of a view can’t be displayed. So, when no picture is chosen, we use the ContentUnavailableView to current a concise and informative message.

Abstract
In iOS 17, Apple made enhancements to the native Pictures picker. Now, you may simply embody it inside your app as a substitute of utilizing a separate sheet. This tutorial explains the brand new modifiers that include the up to date PhotosPicker view and reveals you methods to create an inline picture picker.
In case you take pleasure in studying this tutorial and wish to dive deeper into SwiftUI, you may take a look at our Mastering SwiftUI e book.